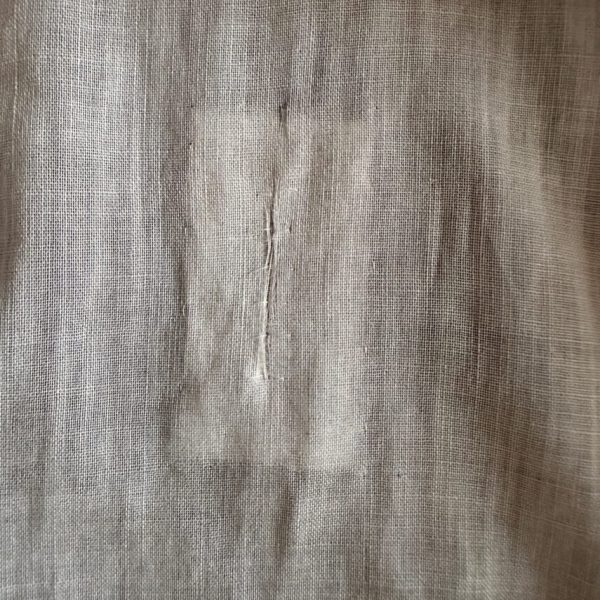
Problem Solving Through Stitch Choice
As conservators, we are confronted daily with a variety of damage, wear, and degradation to cherished textiles, all affecting the structure in unique ways. It’s our job, following the wisdom of our predecessors and the conservators’ code of ethics, to discern a solution that is the least invasive, and most stabilizing, for the particular materials and areas involved.
We employ a wide array of stitches, all of which are chosen to solve a particular problem facing the object. Here is a peak behind the curtain of our process, outlining the principles we use to select the best stitch to preserve, protect, and care for a textile.
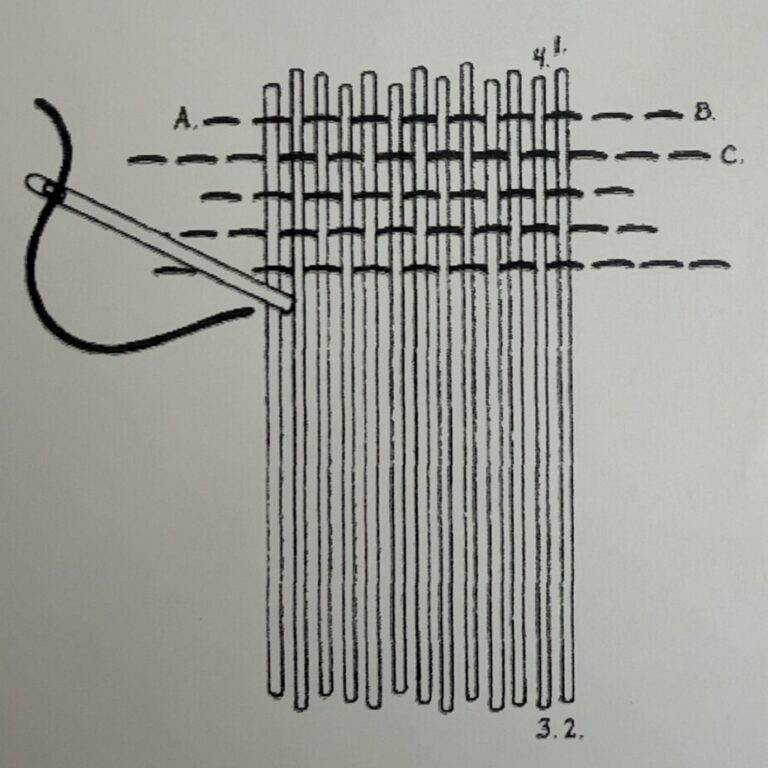
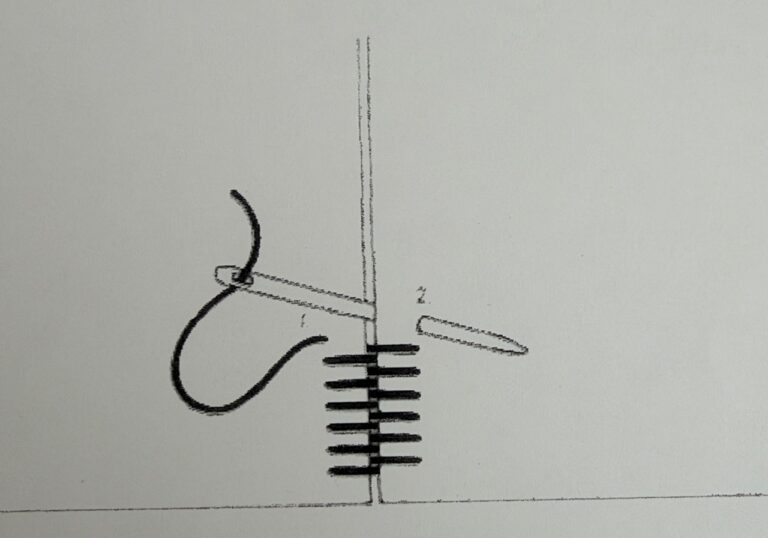
Darning Stitch
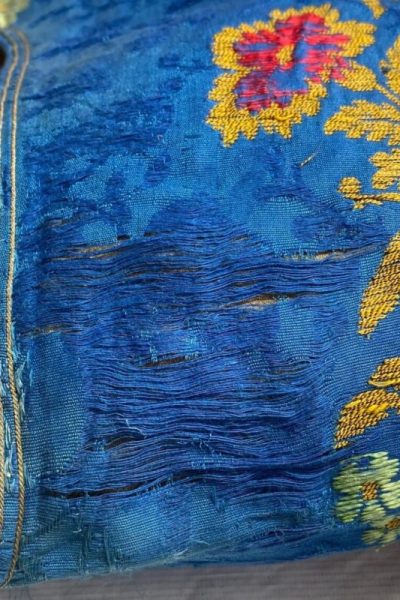
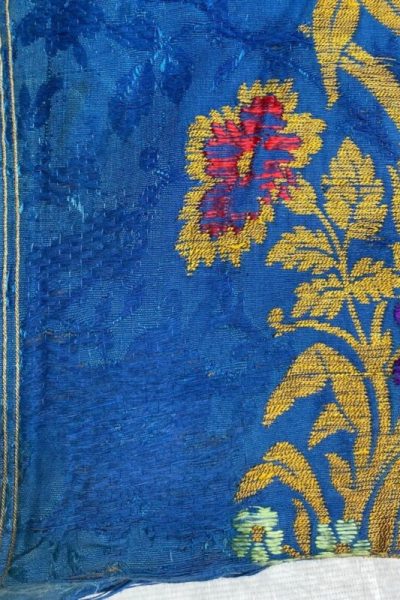
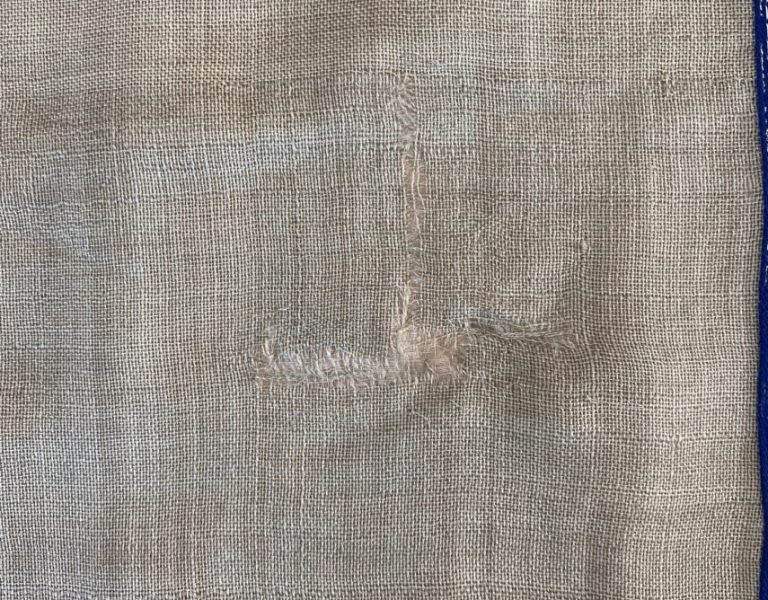
fabric in which either the warp or the weft threads remain. This versatile stitch can stabilize and strengthen very delicate areas, as the many lines of stitching work together to replicate the original construction of the fabric. Darning is preventive measure, used to both reinforce an area before a hole forms, and a technique to repair holes.
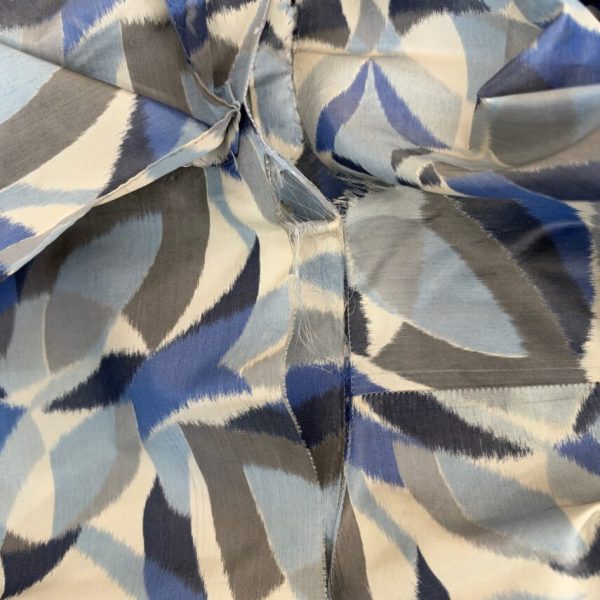
In the case of this late 19th century Armenian wedding gown, the beautiful damask fabric had lost a bulk of the weft threads in high abrasion areas. By darning with a strong but very fine monofilament thread, we filled the distracting gaps and strengthened the fabric, all while preserving the luster and elegance of the original silk.
Blind Catch Stitch
When conserving textiles, a balance must be struck between providing a sturdy and
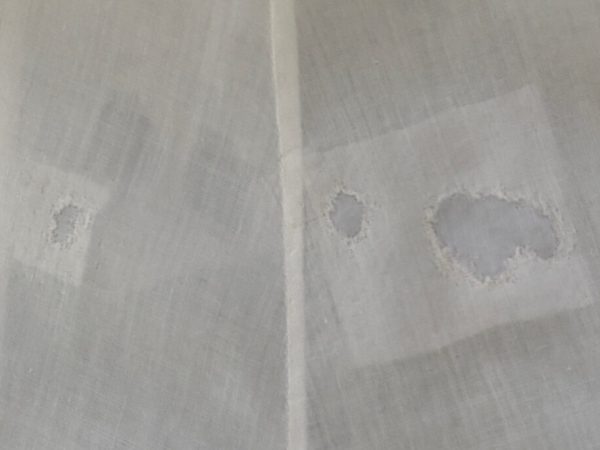
stabilizing solution that is also visually and structurally unobtrusive. Though it may seem that adding more stitches would help reinforce an area, this is not always the case, as the needle and thread adds tiny holes which can weaken fragile fabric. More stitching on the front of an object can also be visually distracting, pulling the eye towards a damaged area.
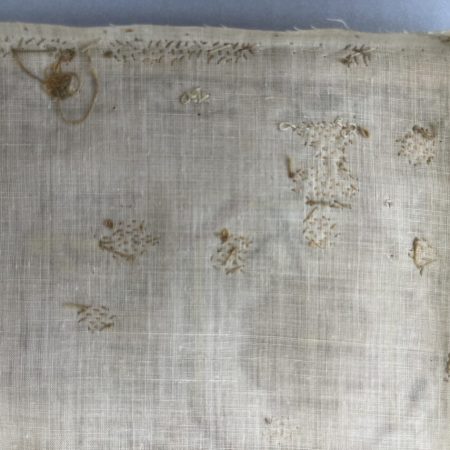
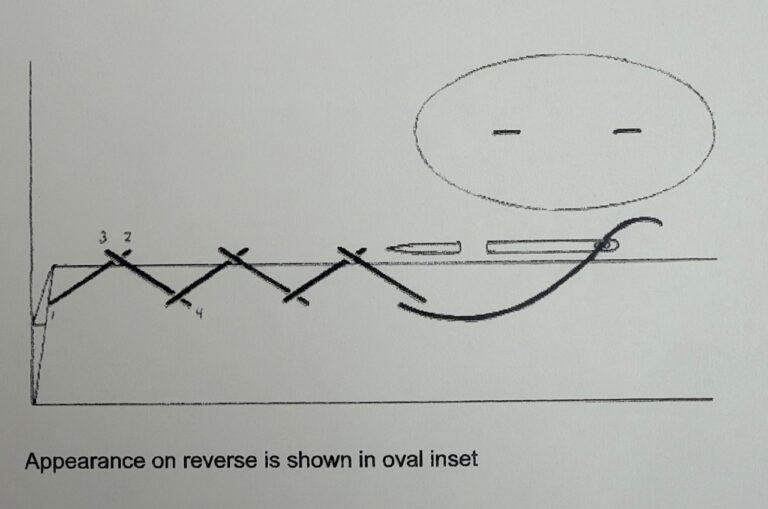
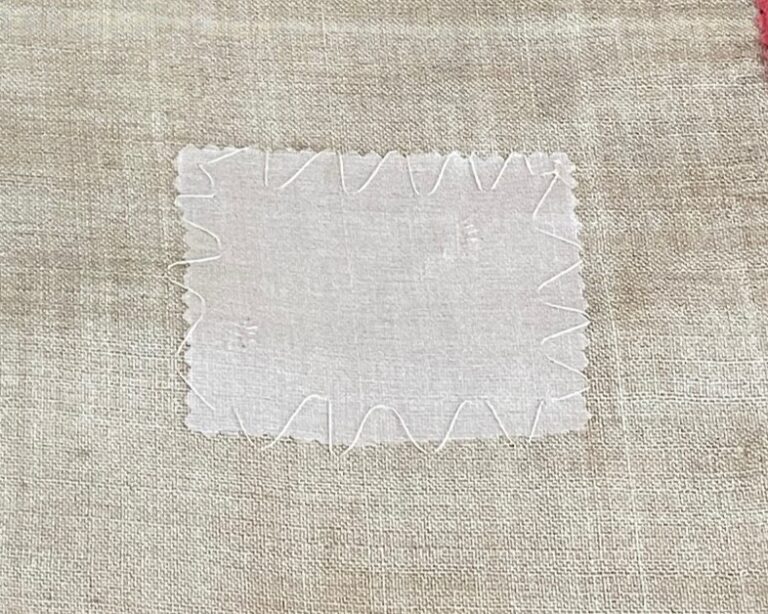
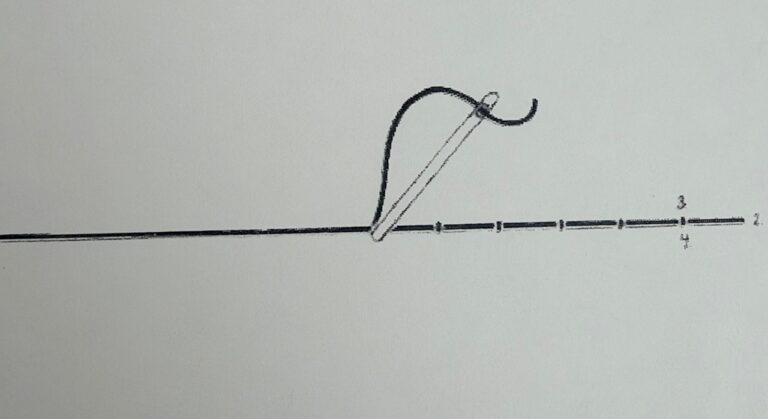
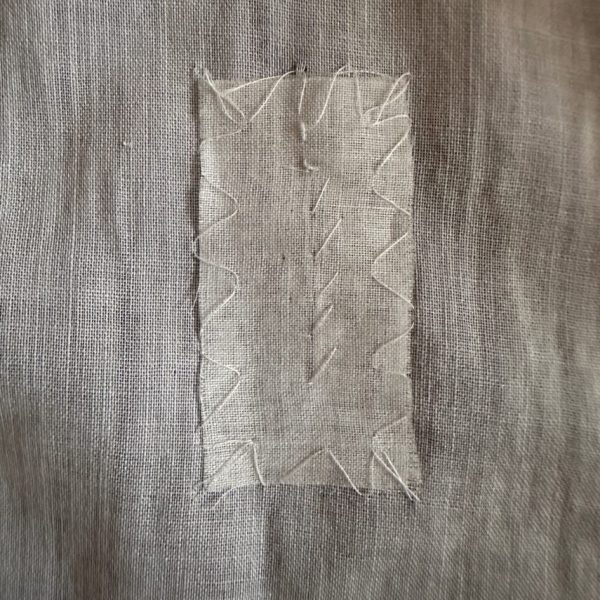
To help strike this balance on an area requiring a patch support, we utilize a blind catch stitch. As the name suggests, this stitch, nearly invisible from the front, allows us to stabilize an area without negatively impacting the structure or aesthetic by loosely “catching” just a few threads on either side of the patch with a needle. These stitches then create a flexible patch that provides plenty of structural support, without adding undue stress to the fabric.
Couching and Laid-Couching
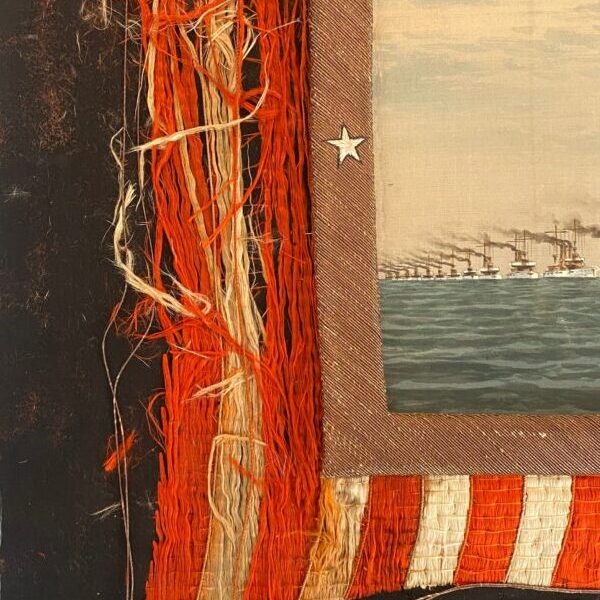
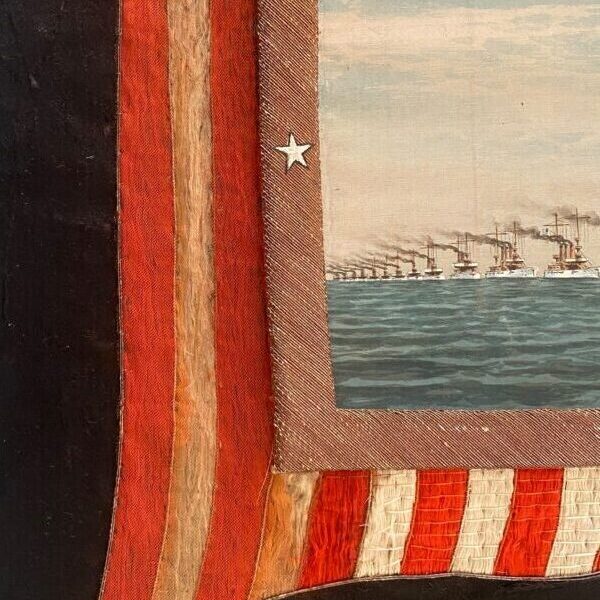
When it comes to taming long, crazy-loose threads aka ‘spaghetti’, less is more.
Couching is a stitch technique in which an individual thread or small collection of threads is held down with a tacking stitch. Or in the case of laid couching, a long ‘security’ thread is laid down across the ‘spaghetti’ and then intermittently couched to secure the laid thread.
Couching is another effective method to organize and preserve a damaged area without negatively impacting the piece structurally or aesthetically.
When couching, it is very important to keep constant tension on the threads during stitching for the end result to remain taught and straight.
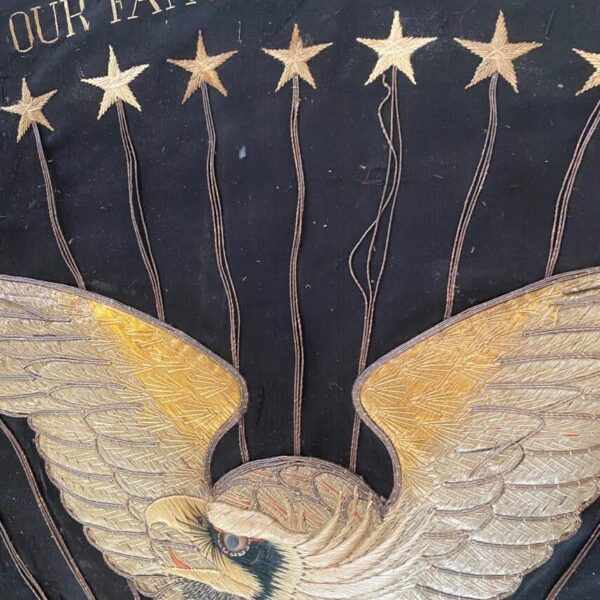
For this area, first arranging the loose fibers and then couching, were followed by an overlay of transparent netting to more safely secure the very damaged and susceptible area.
When filling a hole with a patch support, couching stitches are used on the front to tack down the edges of the hole.
Figure-8 Stitch
Though beautiful, elegant, breathable, and naturally strong, historic silk can put up a big fight for conservators. Alongside the proteins that make up the fibers being susceptible to heat
and humidity, historic silks were also sometimes treated with metallic salts during manufacturing to add heft and drape. Over time, these chemicals decompose, oxidize and eat away at the fibers, leading to brittle and easily shattered fabric. This inherent vice and delicate constitution leaves fewer stitching techniques available to mend silk, as a needle and thread can easily rip and weaken the fabric further.
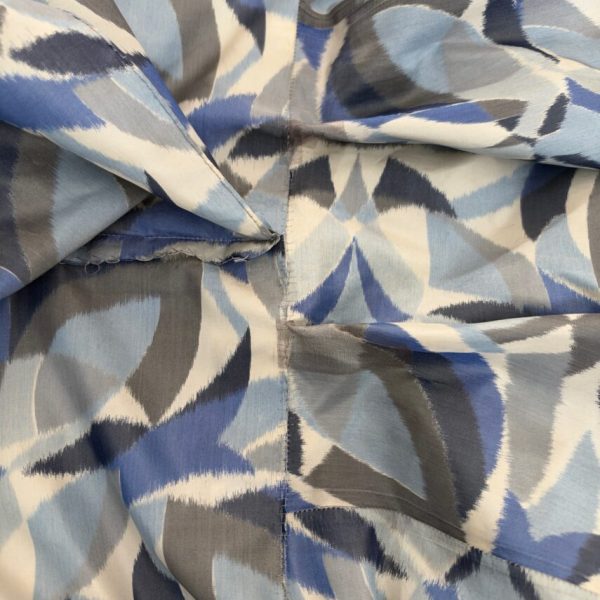
The figure-8 stitch, though not useful for the most damaged silk fabric, is helpful for preserving tears that don’t have to support much weight on their own. This tear, located along the back seam of a gown, was present in only the topmost layer of fabric. Using a figure-8 stitch, in tandem with a lightweight patch support underneath and a very thin needle, we were able to bring the edges of the tear together in a way that lays completely flat. The wide stitch length also allowed us to better distribute the weight along the tear, protecting the area from further damage down the road.
All process photographs were taken by Caring for Textiles staff and are the exclusive property of Caring for Textiles.
Keywords: textile repair, blind catch stitch, couching stitch, laid couching stitch, figure-8 stitch, textile conservation, textile preservation, hand stitching, and fabric tear
Excellent job, Julia – really good explanations and visuals here.
I am familiar with all these stitches, of course – but had never used the blind catch-stitch the way you have described it here – I am a bit confused as to how that patch is actually stitched into place.
Could you explain just that one stitch differently, so that I can understand what you are saying here?
Thanks a lot!